

Extra Information on Caring for our Budget-Wise-Silicone-Moulds is after this Soap Queen article, please scroll on down!

From Soap Queen:
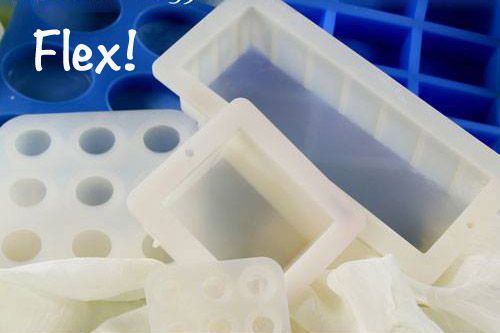
Caring for Your Silicone Moulds
Silicone moulds are great for both melt and pour soap, and cold process soap. Durable yet flexible, silicone molds make unmolding easy.
Silicone moulds also eliminate the need to line the mould with parchment paper ot a liner, making them extremely convenient. The glossy inside gives soap a smooth and professional finish.
Silicone moulds are extremely easy to take care of. Once the soap is removed from the mould, use a sponge and dish washing soap to remove any leftover soap from the mould.
We do not recommend placing silicone molds in the dishwasher. Avoid using copper sponges (or steel wool and abrasives) on silicone moulds, as they can scratch the smooth glossy inside. If your kitchen sponge is like the one in the main picture, ONLY use the soft side, not the scrubbing surface.

Sometimes if a soap is strongly scented, some of the scent will remain on the silicone. We have found that scents and colour on silicone moulds do not transfer to the next project. But if you are concerned, first clean the mould with soap and water. Then, spray the mould liberally with rubbing alcohol and allow the alcohol to sit on the mould for 15 - 20 minutes. Spray again with alcohol and rub off with a paper towel, then give the mould another wash with dish soap and water.
When using silicone moulds, sometimes soda ash can transfer to the mould. You can see an example of this in the photo below. The soda ash on the mould is completely normal and will not affect the mould itself. But, if you’d like to remove it before soaping it’s easy to do!

It’s normal for soda ash to remain on silicone molds. Luckily removing it is easy!
First, fill the mould with water. If the soda ash is on the sides of the mould, fill the water as full as possible. Carefully transfer the mould into the microwave and heat until the water begins to steam (usually about 1 - 2 minutes). Very carefully, remove the mould from the microwave. While the mould will be safe to touch, the water inside is hot so be careful to not spill the water on your skin. **Our small soap microwave does not take the larger Oval SIlicone Moulds, so we use the kettle and hot water.

In the photo below, you’ll notice the water is slightly murky. This is the soda ash that is now ready to be washed away.

Place the mould in the sink and wash with dish soap and water as normal. Dry with a towel and the mold will be good as new!


Budget-Wise Silicone Mould Care
Our Budget-Wise Silicone moulds are extremely easy to take care of, but we do recommend you take a little more care when using and cleaning as they are a thinner grade of silicone, so are not suited to constant commercial use.
The silicone tray moulds should be placed on a baking sheet or a board as they are very flexible, (this is also recommended for our regular
silicone moulds with multiple cavities).
Never use a knife to "unstick" your soap! It will slice straight through the mould. Use a blunt spatula or bread and butter knife to ease some air in the side of the mould. It will then peel back easily. Once the soap is removed from the mould, use a sponge and dish washing soap to remove any leftover soap from the mould as per Soap Queen's article above.
We do not recommend placing Budget-Wise Flex Moulds in the dishwasher - really, it will warp them. Avoid using scourers and abrasives to clean, just soap in warm soapy or washing up water to soak off any stuck soap.
")


