


This tutorial accompanies our Neon Lights Melt and Pour Soap Loaf Kit which can be purchased HERE on the main website.
In your kit you have:
- 1kg selected transluscent Melt and Pour Soap Base
- 4 x Portions Powdered Colourant
- 25ml Glycerine (Palm Free)
- 1 x 25ml Pure Essential Oil
or - 1 x 25ml Essential Oil Blend
or - 1 x 25ml Artisan Fragrance Oil
- 1 x Isopropyl Alcohol and Sprtizer Bottle
- 1 x Medium Flexible Loaf Mould
- 1 x Disposable Pipette
Method:
Full written instructions are included with your kit - this tutorial has a brief overview to explain the graphics

Set out all the ingredients etc

Prepare the powdered colours as described - squish and squeeze to remove any dry spots.
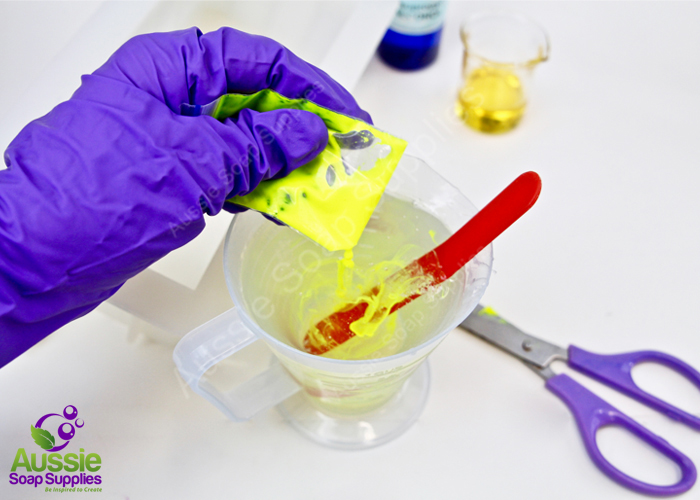
Add sufficient colour to colour the first first pour to a good deep colour.

Once combined, add a quarter of the fragrance and stir well.

Prepare a prop and base support for the mould and place on a diagonal.

Close up of the height suggested. Don't forget the base support (which you cannot see in this graphic).
Otherwise the base of the mould will bow down with the weight and heat of the soap.

Check the first layer is firm.

SPRAY THE SURFACE OF THE YELLOW SOAP BEFORE POURING THE GREEN LAYER.
Once firm, adjust the angle of the mould.
Then melt the next portion of soap, colour green and scent using the method described previously.

Spray again to remove surface bubbles.

Allow to set up as previously.

Adjust the angle of the mould again, and repeat for the blue layer.

Once set, remove the prop and flat board entirely and sit the mould flat on the bench.

Repeat the process for the final purple layer, do not forget to spray the blue layer before pouring the purple over the top.

All to set up for several hours or overnight. You can see the layers through the mould, and how beautiful the design shows,
light the Northern Lights in the northern hemisphere skies.

Unmould and slice with a non serrated blade

We recommend wrapping the soaps, or store in an airtight jar before use.
Purchase your customised Kit on this link: Neon Lights Melt and Pour Soap Loaf Kit

