

This fun and festive soap loaf recipe is a great project for those who've had a try at beginner Melt & Pour Soap Making and are ready for a slightly more challenging experience!
This recipe is all about temperature and layering, so if you are new to soaping and feel it's within your scope - go for it!
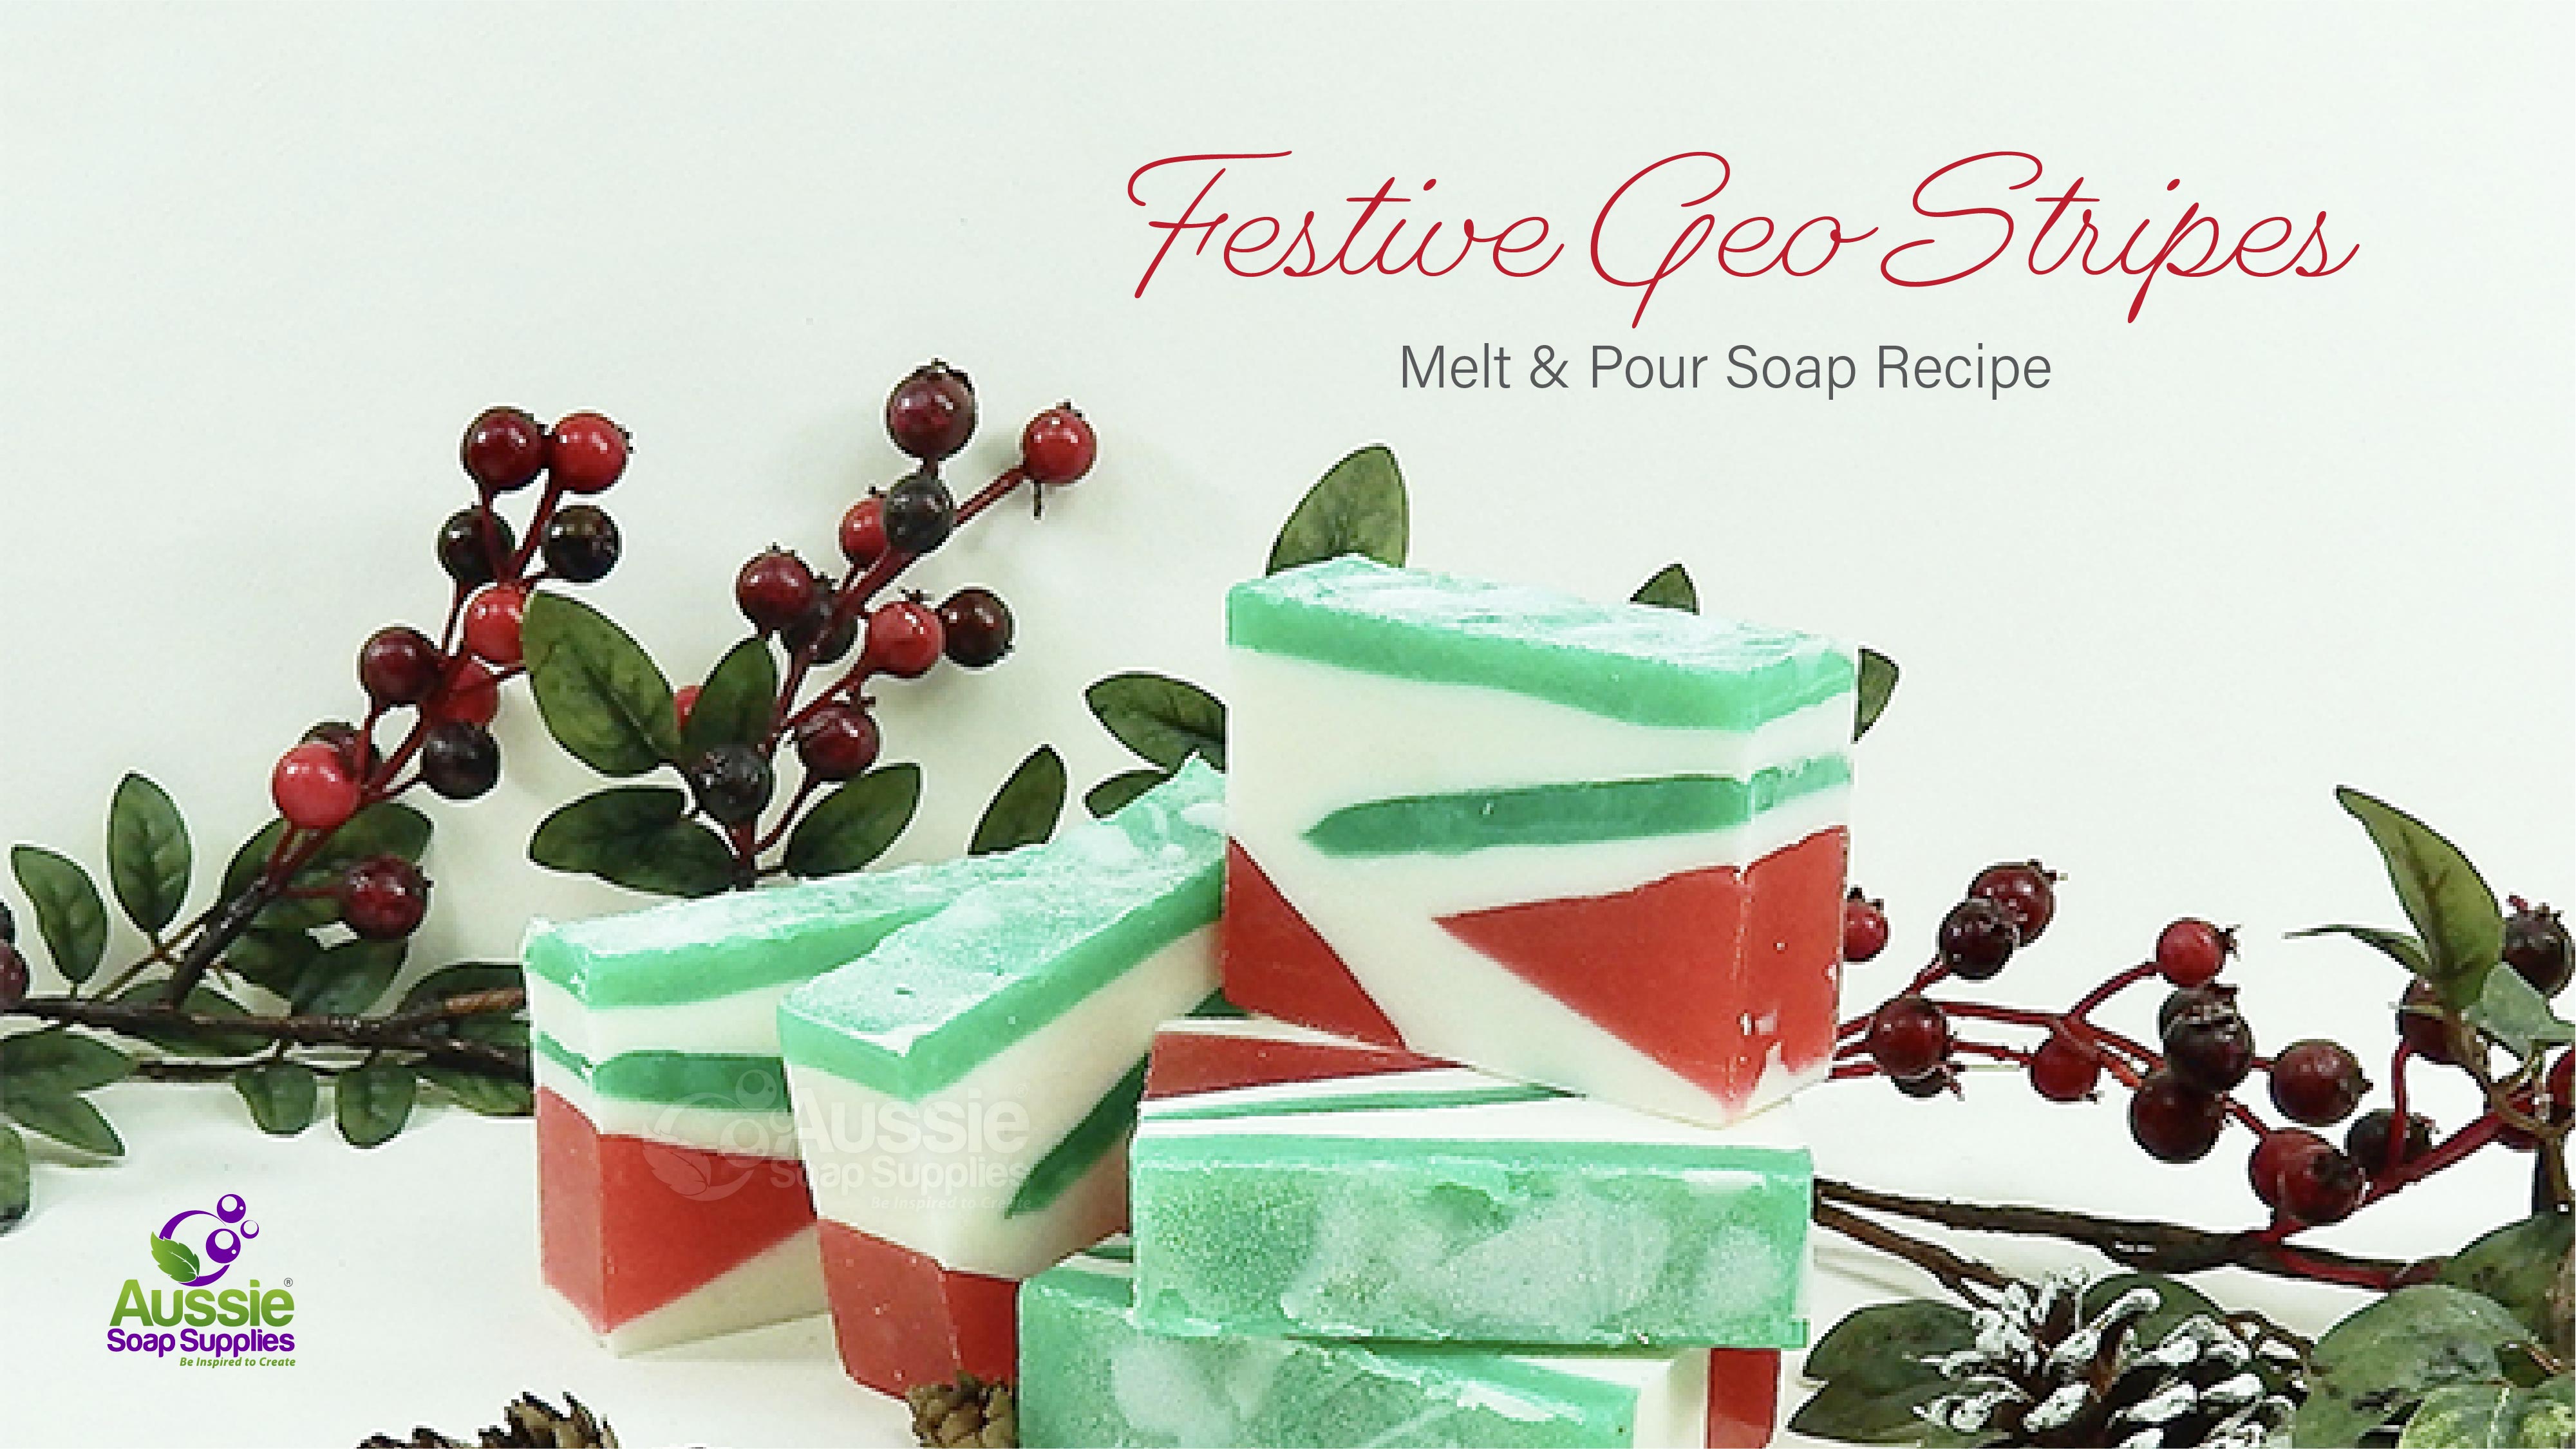
We've given this project a festive, Christmas flair, but feel free to swap the colours and fragrances to suit your desired theme. The geometric design looks stunning in all colours; lovely sharp angles, some shiny micas, or pastel beach tones all work well.
Pour the soap at between 55 to 65°C (I poured all layers at 60°C).
The quantity of soap for the layers I just eyeballed - but if you want to weigh specific layers, just weigh each pour to attain more symmetry. Quantities given are for the full loaf and you'll have some soap left over which I used in Clamshells for swirled soaps.
Layering Pattern:
Pour 1 - Red on an acute angle
Pour 2 - White on the same angle
Pour 3 - Red on opposite, acute angle
Pour 4 - White on opposite medium angle
Pour 5 - Green almost on the flat, around 5 - 10°
Pour 6 - White to just below the rim poured level
Pour 7 - Green to the rim, completely level
Finish: I used a Disposable Pipette to splatter white soap over the top (against the green for contrast) so I could sprinkle some glitter to finish.
You'll need:
- 900 - 1000g SFIC Shea Butter Melt & Pour Soap Base
- 800g SFIC Clear Melt & Pour Soap Base
- 25g/ml (4 - 6 teaspoons) Cranberry Fig Fragrance
- ½+ teaspoon Lily Pad Green Mica
- ½+ teaspoon Salsa Red Mica
- Flexible Mould - Loaf (Regular)
- Isopropyl Alcohol and Spritz Bottle - For eliminating bubbles, useful but not essential
- Sodium Lactate Plus - Optional, used to hydrate the mica
- Eco Glitter, Holographic (Regular) and Disposable Pipette - Optional for the surface decoration
Equipment:
- Stirring spoons or spatulas
- 3 microwave safe jugs - The largest needs to hold 1 litre, the other two 500 - 750ml each
- Electronic Scales - Helpful if you are creating even layers
- A "rest" to support the loaf mould and hold it on an angle. I have used my old soap planer, but you can also use phone books, a towel, blocks of soap etc.
This is the breakdown of colours and fragrance I used:
Green Layers: Lily Pad Green Mica - 5g/ml Cranberry Fig
Red Layers: Salsa Red Mica 5g/ml Cranberry Fig
White Layers: Soap is uncoloured, but is scented - 15g/ml Cranberry Fig

Method:
- Set out the ingredients and equipment ready to go - dice the soap bases into small ice cube sized chunks into each of the jugs, hydrate the micas etc.
- I like to use little pill cups for my micas for Melt and Pour Soap - moisten these with 1 teaspoon Sodium Lactate Plus, mix well to remove lumps. If necessary spritz them away Isopropyl Alcohol. If you prefer you can also use straight isopropyl alcohol but mix in glass.
- Firstly melt the soap that is going to be coloured red (clear soap). Lightly cover the jug and put in the microwave to melt on medium or medium high heating in short bursts. This may take a few minutes, so do keep an eye on it so it doesn't overheat.

- Remove from microwave when the soap has melted, stir and add the colour (as set out above) to the clear soap. If you prefer a deeper colour add a little more. Spritz any little bubbles or dry spots out with alcohol then add fragrance and stir until they are well combined.
- Set up the prop for the loaf mould - use chocks to keep it there if necessary. Don't move the mould until each layer has set up.

- Pour approximately 2 cm of red soap into the mould and then spritz with Isopropyl Alcohol.

- While this is setting up it's time to prepare the Shea Butter Soap Base.
- Melt the white Shea Butter Soap - one minute bursts is a better option for this larger quantity of soap.
- Once the Shea Butter Soap has melted, add Cranberry Fig fragrance and stir well to combine.

- Adjust the mould onto a more acute angle so the second layer will sit over the first, then spritz the surface of the red layer with alcohol and pour a layer of white until it just laps the far side of the mould base as shown below.


- Check to see if the white layer of soap has set, and if it has, gently remelt the red soap. Re-arrange the soap mould and prop so that it is sitting on the opposite angle ready for the third layer. Spritz the surface with alcohol and then pour the red soap as shown.

- Spritz with Isopropyl Alcohol and then repeat with another layer of white soap, continuing the zig zag pattern. Now it's time to move on to the green soap.

- Repeat the above steps with the green soap - don't forget to add Cranberry Fig Fragrance!


- I like to finish with green, but you could stop here (as above) if you prefer a white top.

- I finished off my loaf with a thin layer of green soap and then some white spattered soap and glitter
- In a small cup, place one cube (approximately 10g) of white soap and heat it for a SHORT time in the microwave - take care it boils very quickly. Try 10 - 30 seconds on medium-low.
- Snip the tip off the pipette.
- Spritz the top of the soap with alcohol to ensure the spattered soap sticks to the surface.
- Squeeze up a good amount of liquid soap into the pipette, and spatter the soap surface with droplets of soap.
- Dust immediately with Eco Glitter.
- Allow several hours for the soap to set completely, then slice and wrap as usual.
If using the trolley, there is no glitter included, but all colours are included, you can adjust the inclusions as required. I use Sodium Lactate to hydrate the micas, this is personal preference.
| Difficulty: | Experienced Beginner |
| Yields: | 10 - 14 bars |
| Time: | 2 hours including setting time |
| save: | No |
| sale: | No |


