

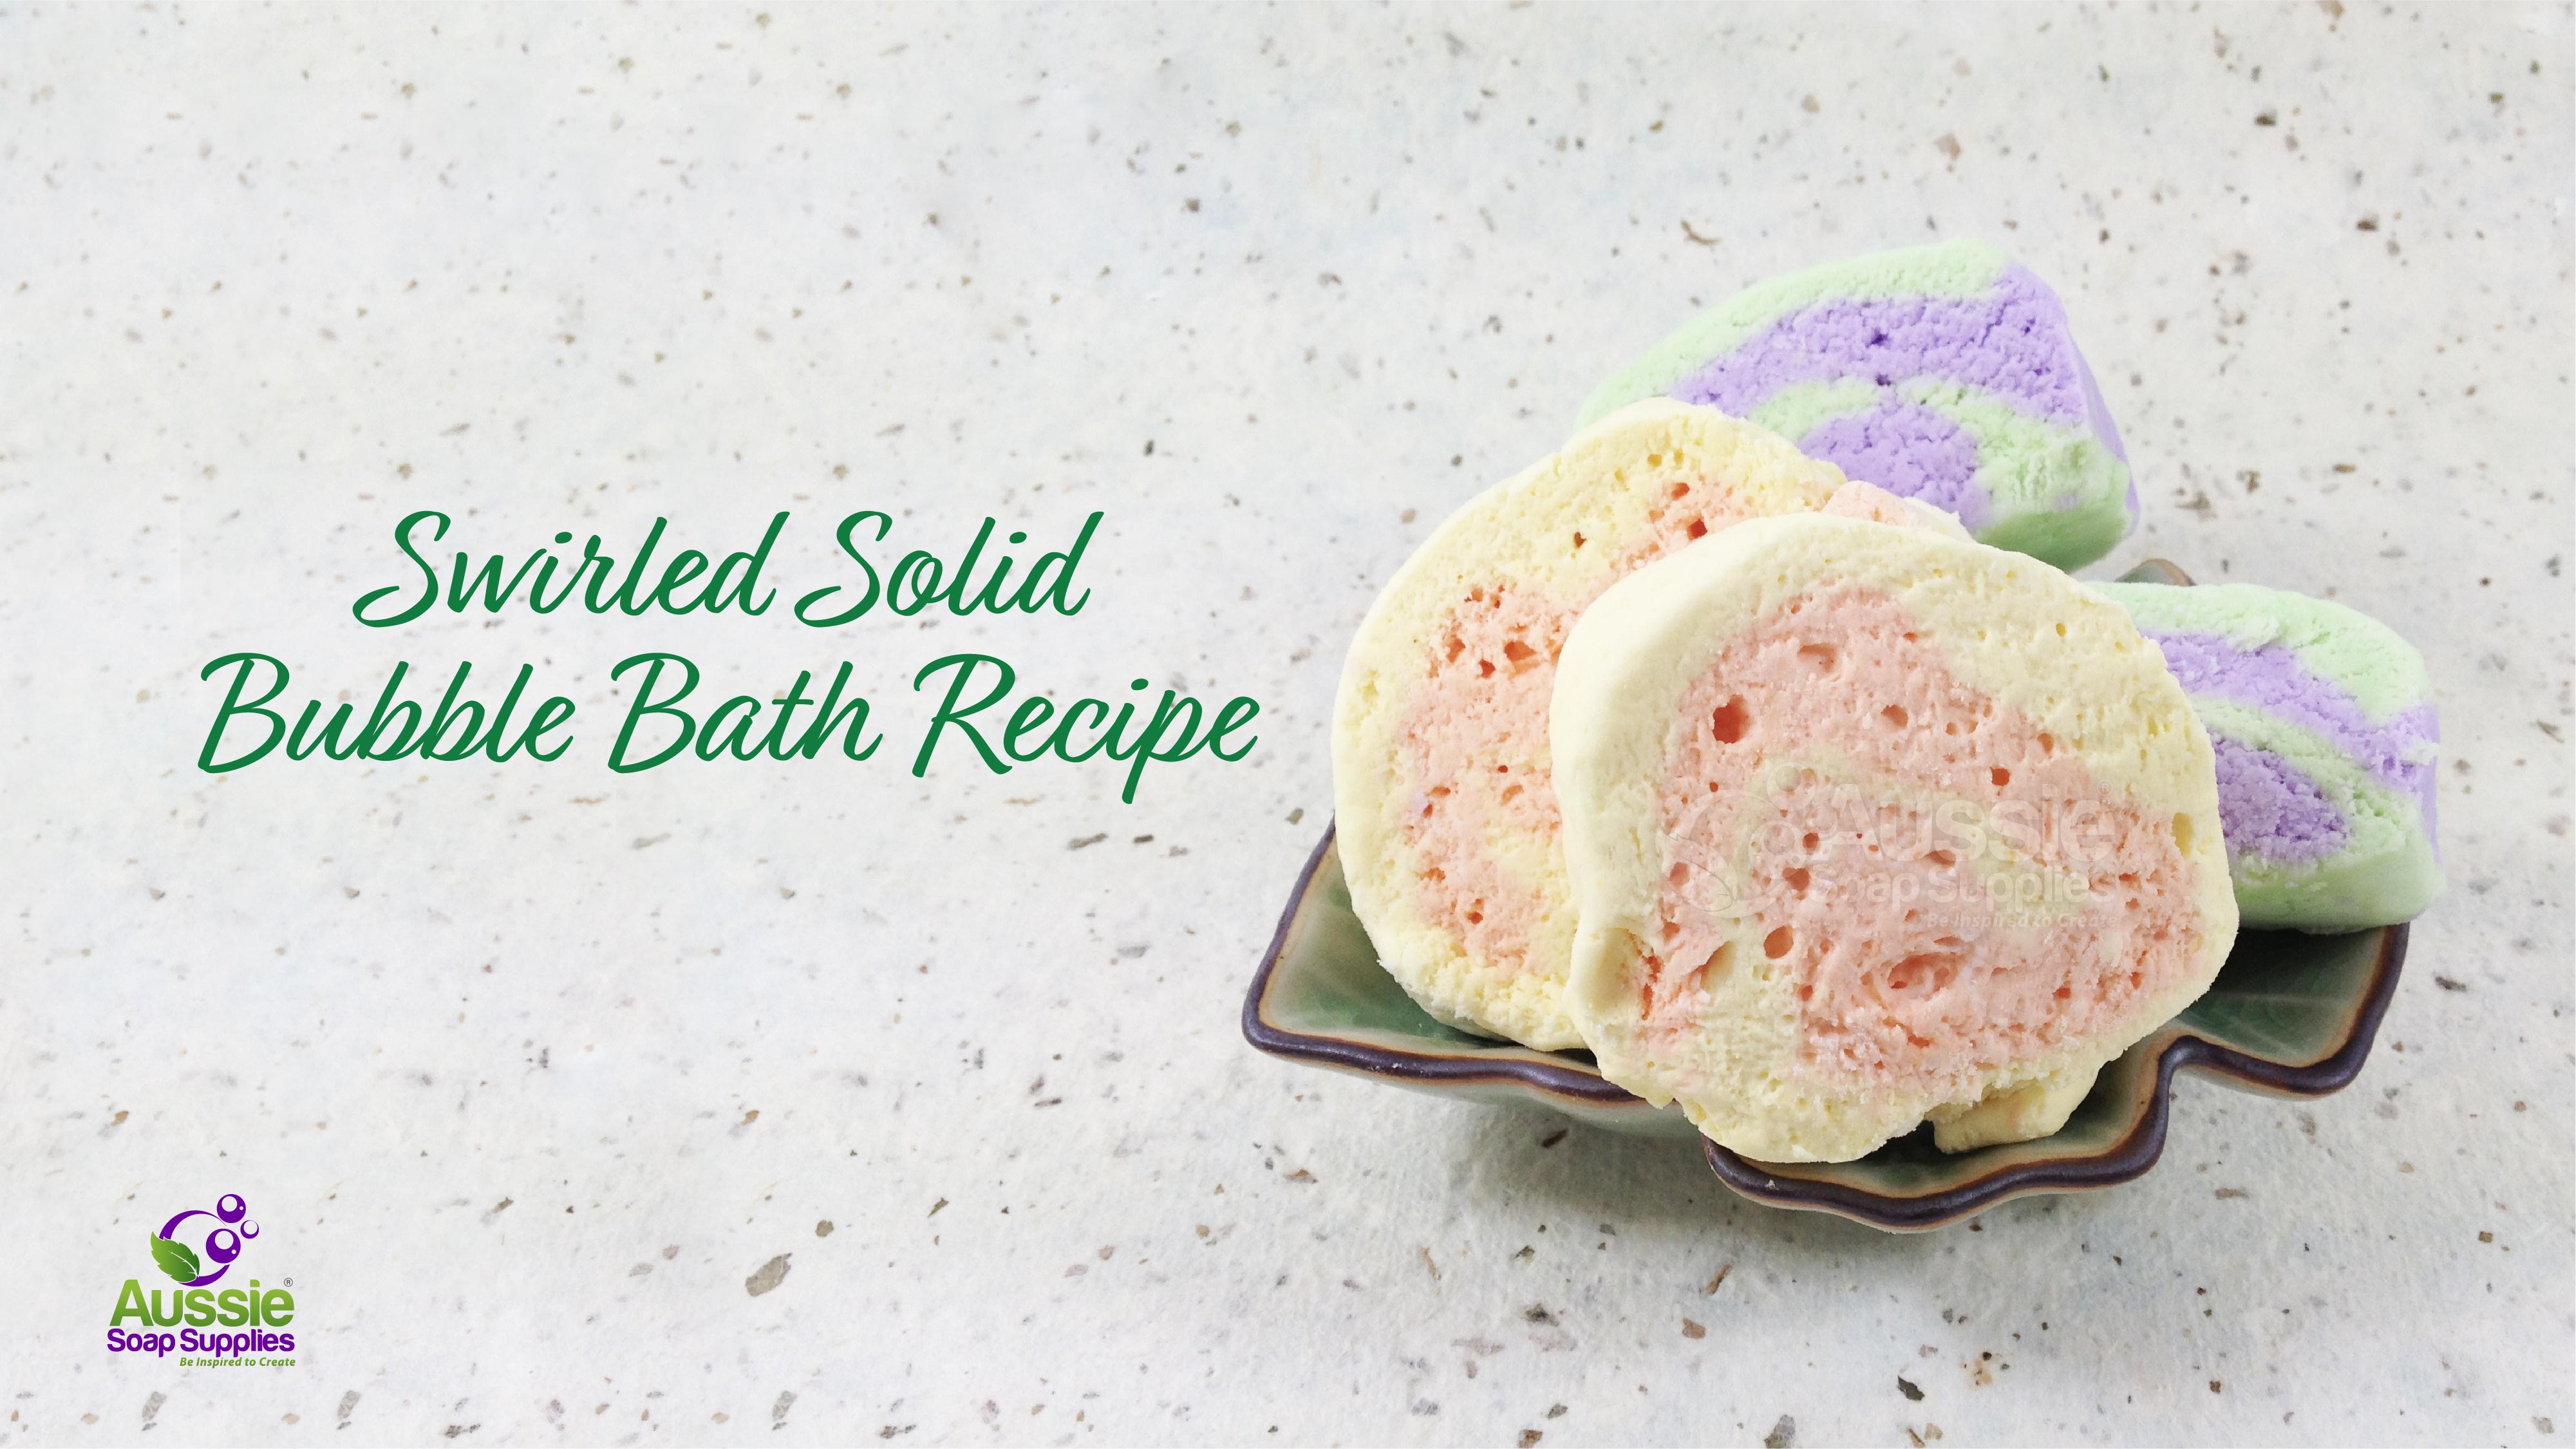
This two-coloured swirled Solid Bubble Bath can be crumbled into your next bath for a beautifully fluffy, scented bubble bath! The rolled technique allows for two-toned bars for a bit of fun.
Watch this Soap Queen video tutorial for a detailed explanation on each step, and read below for our recipe and step by step instructions!
Swirled Solid Bubble Bath
Part One
- 100g Liquid Glycerine PF
- 50g Castor Oil
- 50g Sodium Lactate Plus
- 20g Night Violet Fragrance
Part Two
- 300g Bicarbonate of Soda
- 120g Cream of Tartar (Pure Potassium Bitartrate)
- 150g Corn Flour - From the supermarket
- 20g Natrasorb Bath
- 200g SLSA (Sodium Lauryl Sulfoacetate)
- 20g Coco Betaine - Optional, you may or may not need a little extra moisture, use during kneading
For colours, use diluted Liquid Pigment Dispersions or water dispersible colours such as our Liquid Lakes. To achieve the colours used in the demonstration video, select Deep Seagreen and Deep Blue! You can also use Mica Powders to colour your solid bubble bath.
For our bars we used:
For Night Violet Fragrance Batch:
- 8 drops Royal Purple Liquid Pigment Dispersion - Diluted in 5ml Distilled water or Coco Betaine
- 4 drops Deep Seagreen Liquid Pigment Dispersion mixed with 10 drops of Yellow Liquid Pigment Dispersion - Diluted in 5ml Distilled water or Coco Betaine
For the Sugar Plum Fairy Batch *These ingredients are not listed in the trolley ingredients and will need to be added separately.
- 20g Sugar Plum Fairy Fragrance
- 10 drops Citrus Orange Liquid Lake - Diluted in 5ml Distilled water or Coco Betaine
- 12 drops Sunflower Yellow Liquid Lake - Diluted in 5ml Distilled water or Coco Betaine
You'll also need:
- Large mixing bowl
- Sieve
- 2 x 1 litre jugs or bowls
- Disposable Gloves, a couple of sets
- Gladbake (or similar) or freezer paper
- Scrapers, non serrated narrow knife to slice the bars

Set out equipment and weigh ingredients ready to use.

Mix the part one ingredients together in one bowl and mix until combined.

Use a mask if susceptible to dust, and sieve part two ingredients together in another bowl.

Begin to add the liquid ingredients, slowly into the dry ingredients, mixing as you go.
Use a spatula or spoon at this stage until all ingredients are moistened.

Now it's time for hands!
Knead, and knead some more, scraping off your hands as you continue.

Knead until the mixture until it can be formed into a ball.

Remove from bowl, and form into a ball or log.
Cut into two even pieces and place in separate jugs or bowls.
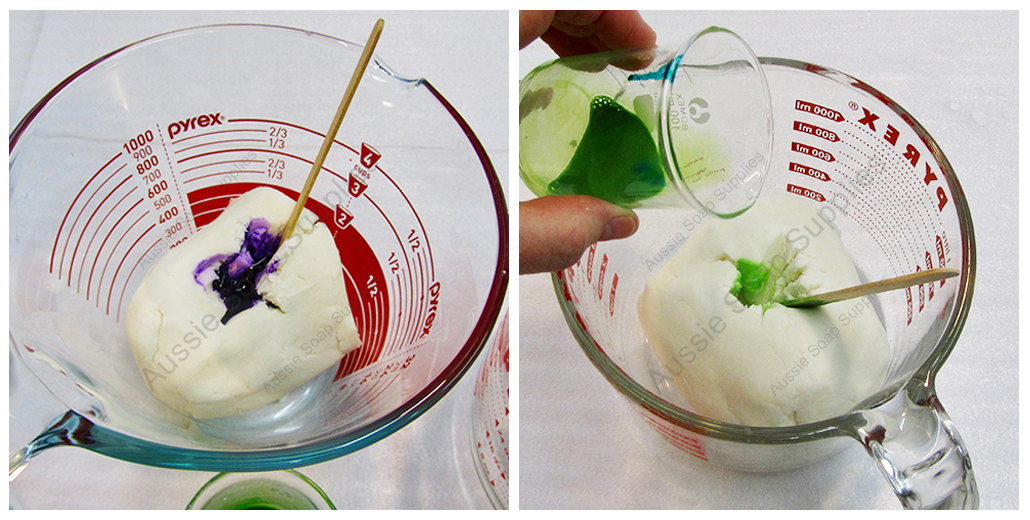
Now it's time for colour, you may want to use it all, or less - we used we mixed up.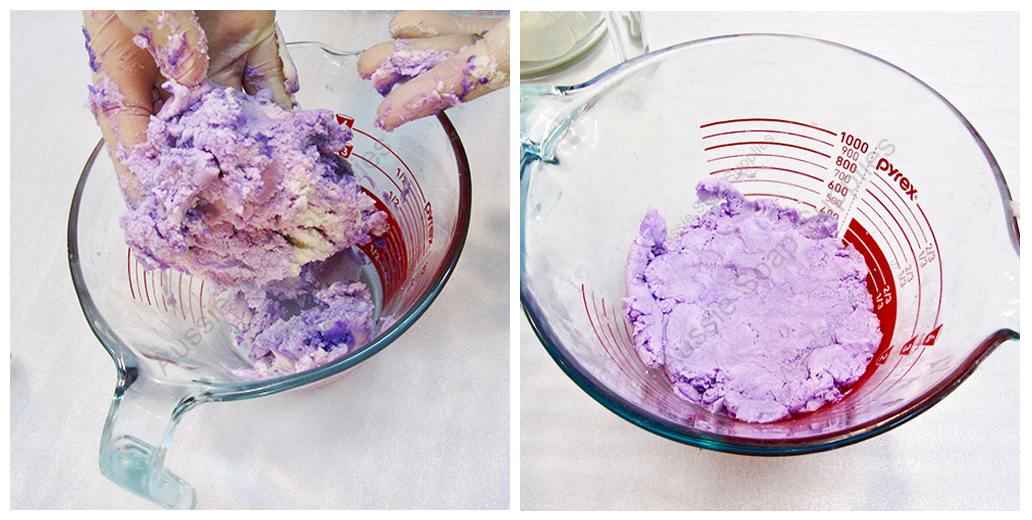
You'll notice as the colour mixes into the white dough that the colour will even out and remain that tone.
If you feel you need a little extra moisture, you can add the Coco Betaine. The mixture will be quite stiff and expect it still to look a little crumbly as you knead it.
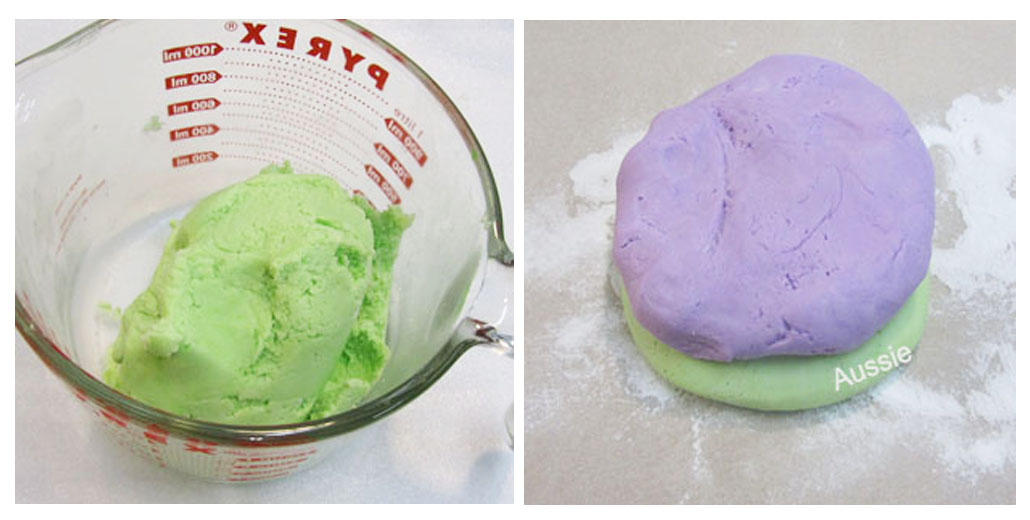
Form into a ball and flatten onto a sheet of baking parchment dusting the surface with Bicarbonate of Soda.
Place one colour of mixture on top of the other.

Time to remove the gloves, or replace with fresh ones as you will most likely have mixture stuck of them!
Dust the top with bicarbonate of soda, and lay another sheet of baking parchment over that.
Now press it out into a squarish shape, one colour over the other, pushing and pressing it into place.
It should be very soft, almost marshmallow like.

Once it has been flattened out it is time to form the roll.
Now begin to roll, like a roulade or swiss roll, tucking the very first edge under a little to allow you to guide the roll over, using the paper to assist you.

This gives you the edge, and then you can continue rolling completely into a cylindrical loaf.

The paper will stick a little (or a lot!) but just continue to coax it into the roll, tapping the ends in to keep it a nice log shape.

Carefully remove the paper, and place on a firm surface. The loaf will be quite soft and almost "fluffy".
Slice the thin blade knife under each slice, to carefully move it just slightly so it will dry in a nice shape

Once sliced, place in a dry place for at least a week or two to dry out, then they are ready to use!
We find it's best to wrap the bars after the drying time and place in a jar for best storage or wrapped in semi-breathable food wrap (like cheese paper)
To Use: Break off a "chunk" and crumble under the running tap, your bath will have loads of bubbles, and no plastic bottle waste!
Ingredients in "Add to Trolley" are for Night Violet Batch - there will be left over ingredients for most items. If making two batches, just double check if you need to purchase 2 of anything (such as Cream of Tartar).
| Difficulty: | Intermediate |
| Yields: | 10 - 14 bars |
| Time: | 2 hours |
| sale: | No |
| save: | No |


